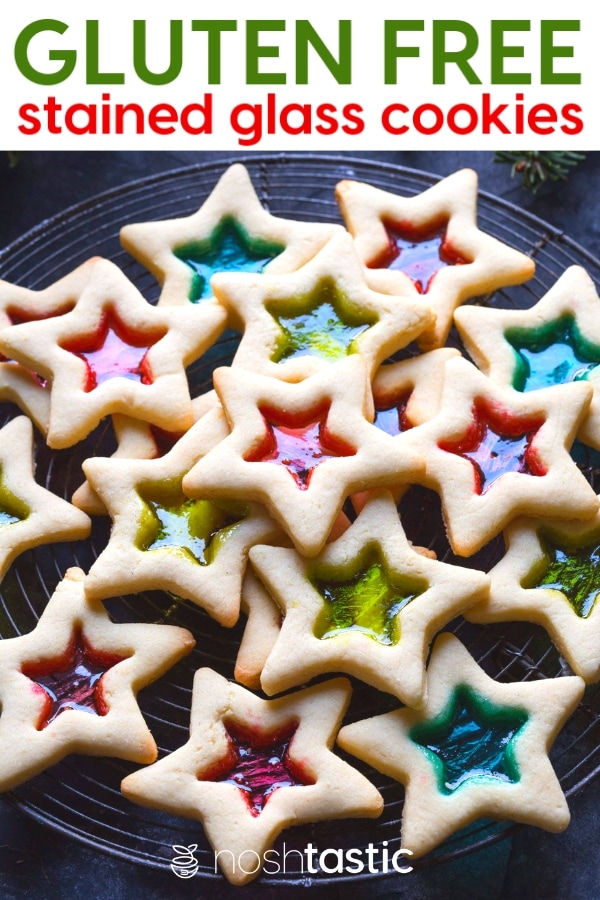
Simply gorgeous Gluten Free Stained Glass Cookies. You can can make these with your kids, they are SO easy!
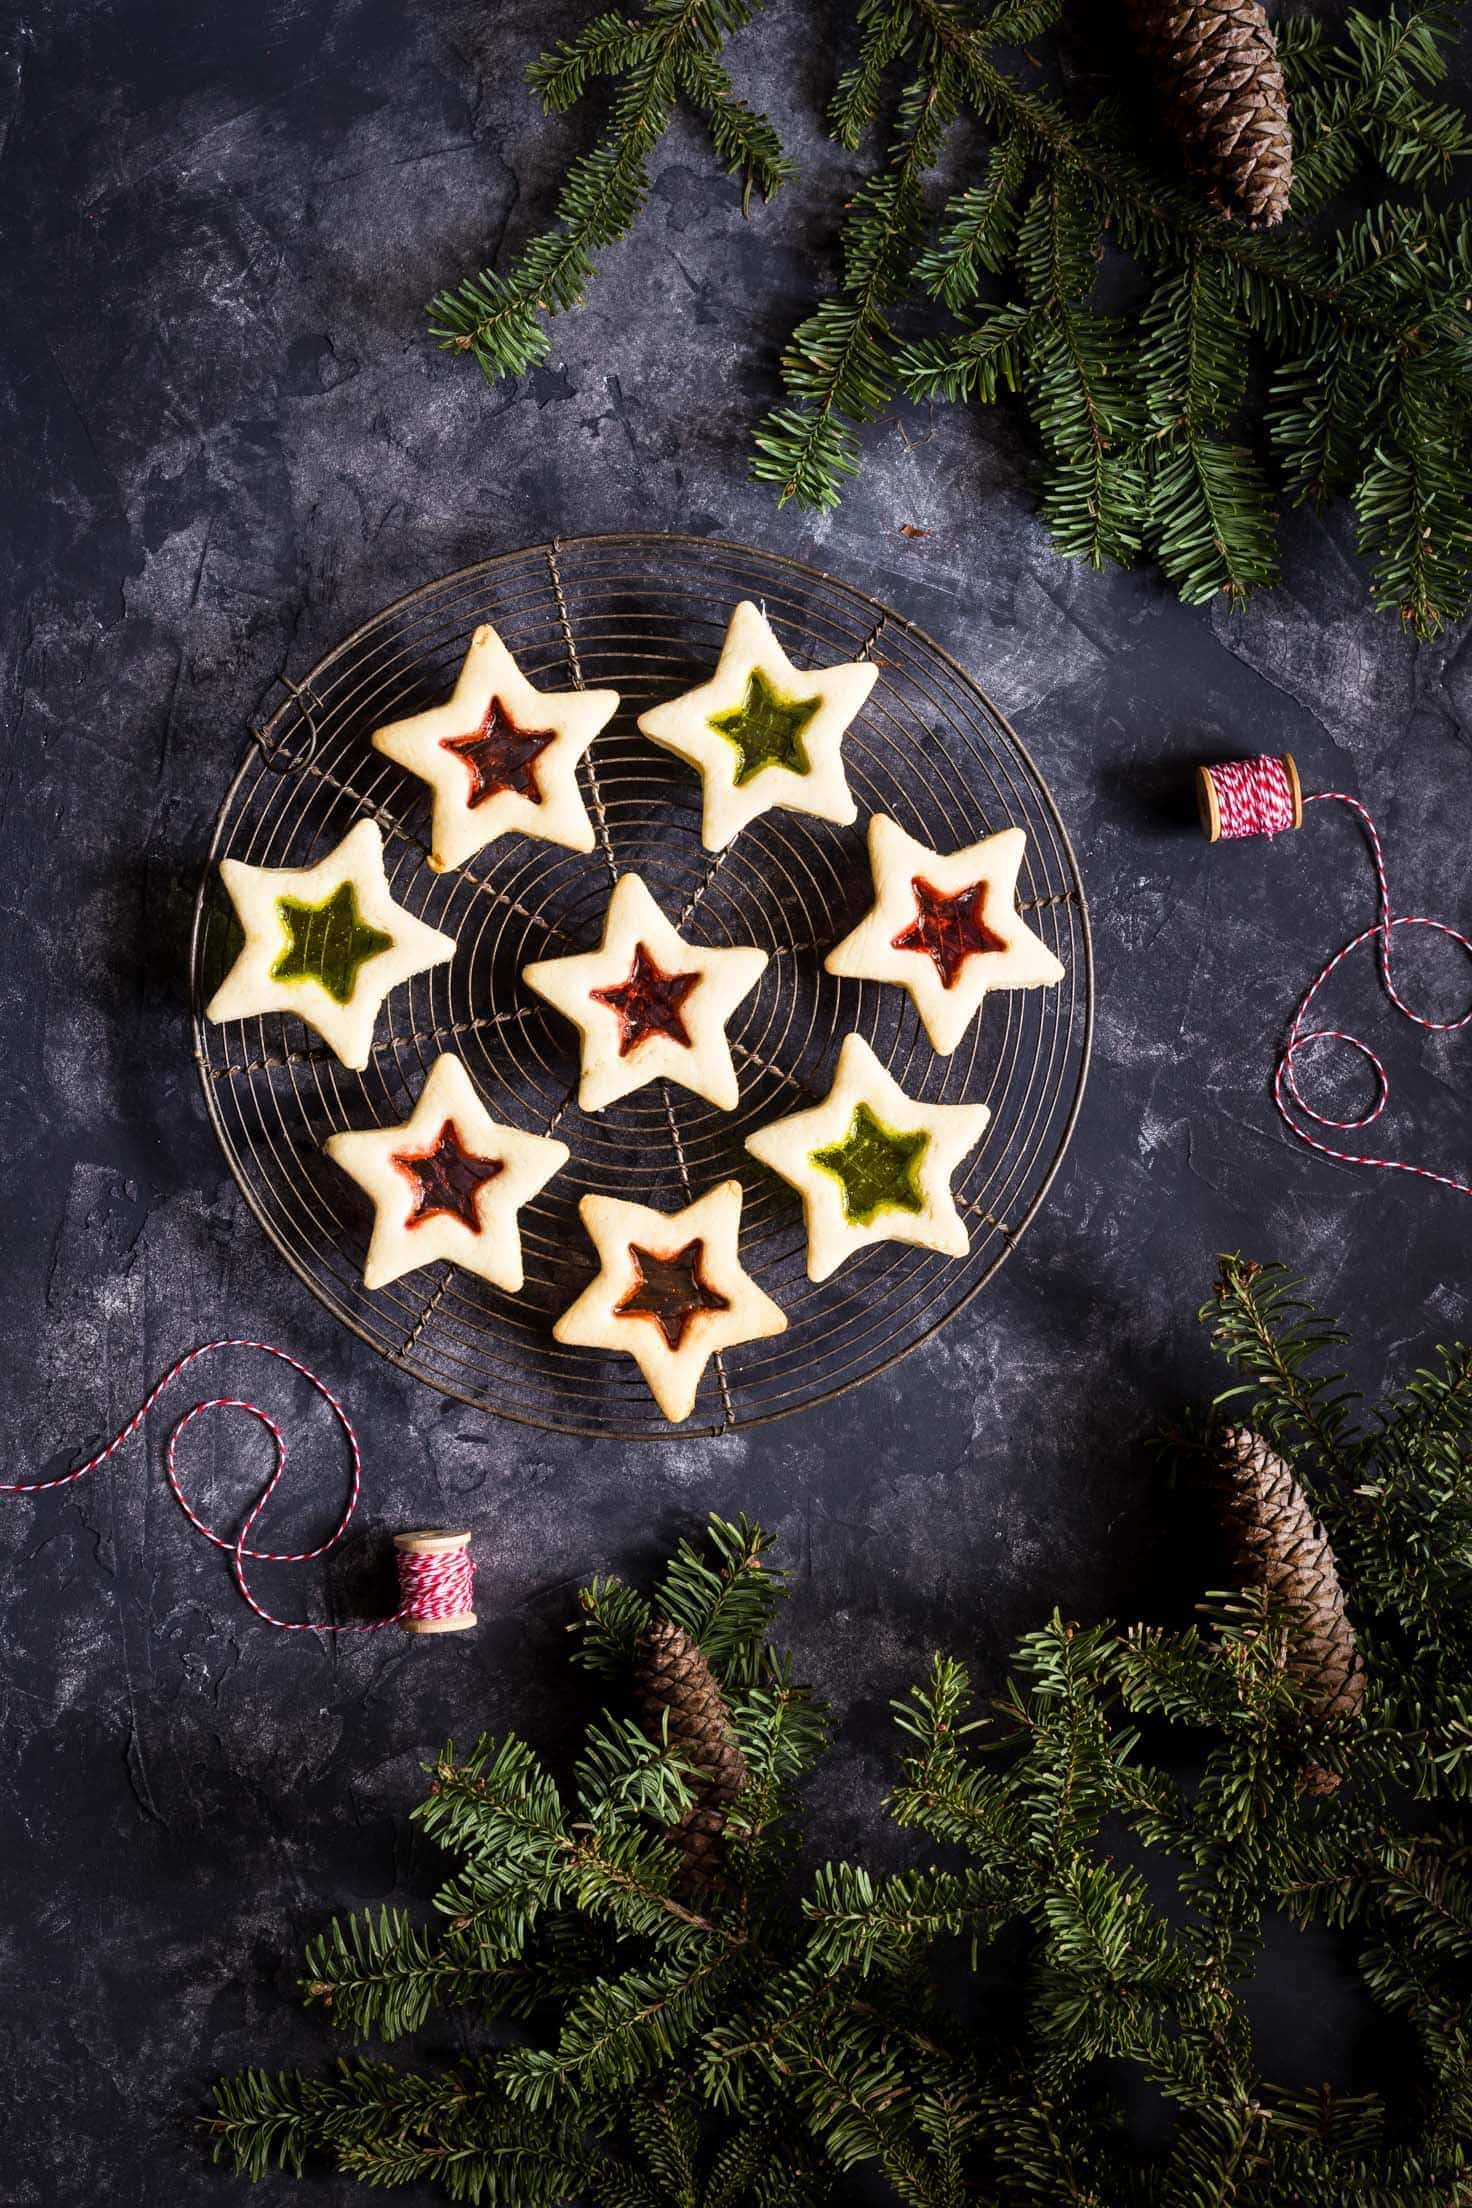
Gluten Free Stained Glass Cookies
Every year I feel like Christmas creeps up on me, despite the fact that it’s the same date every year!
Up until Thanksgiving just seems like too soon to be thinking about anything to do with Christmas, and then BAM, there it is and I’m running to catch up.
Today I thought that I would post my Gluten Free Stained Glass Cookies as they are super cute and easy enough to make with your children or grandchildren.
The hardest part was keeping my boys from eating the hard candy before I had a chance to make the cookies! Fortunately I managed to keep enough of it hidden so that I could make these cookies for you!
This post contains Amazon affiliate links
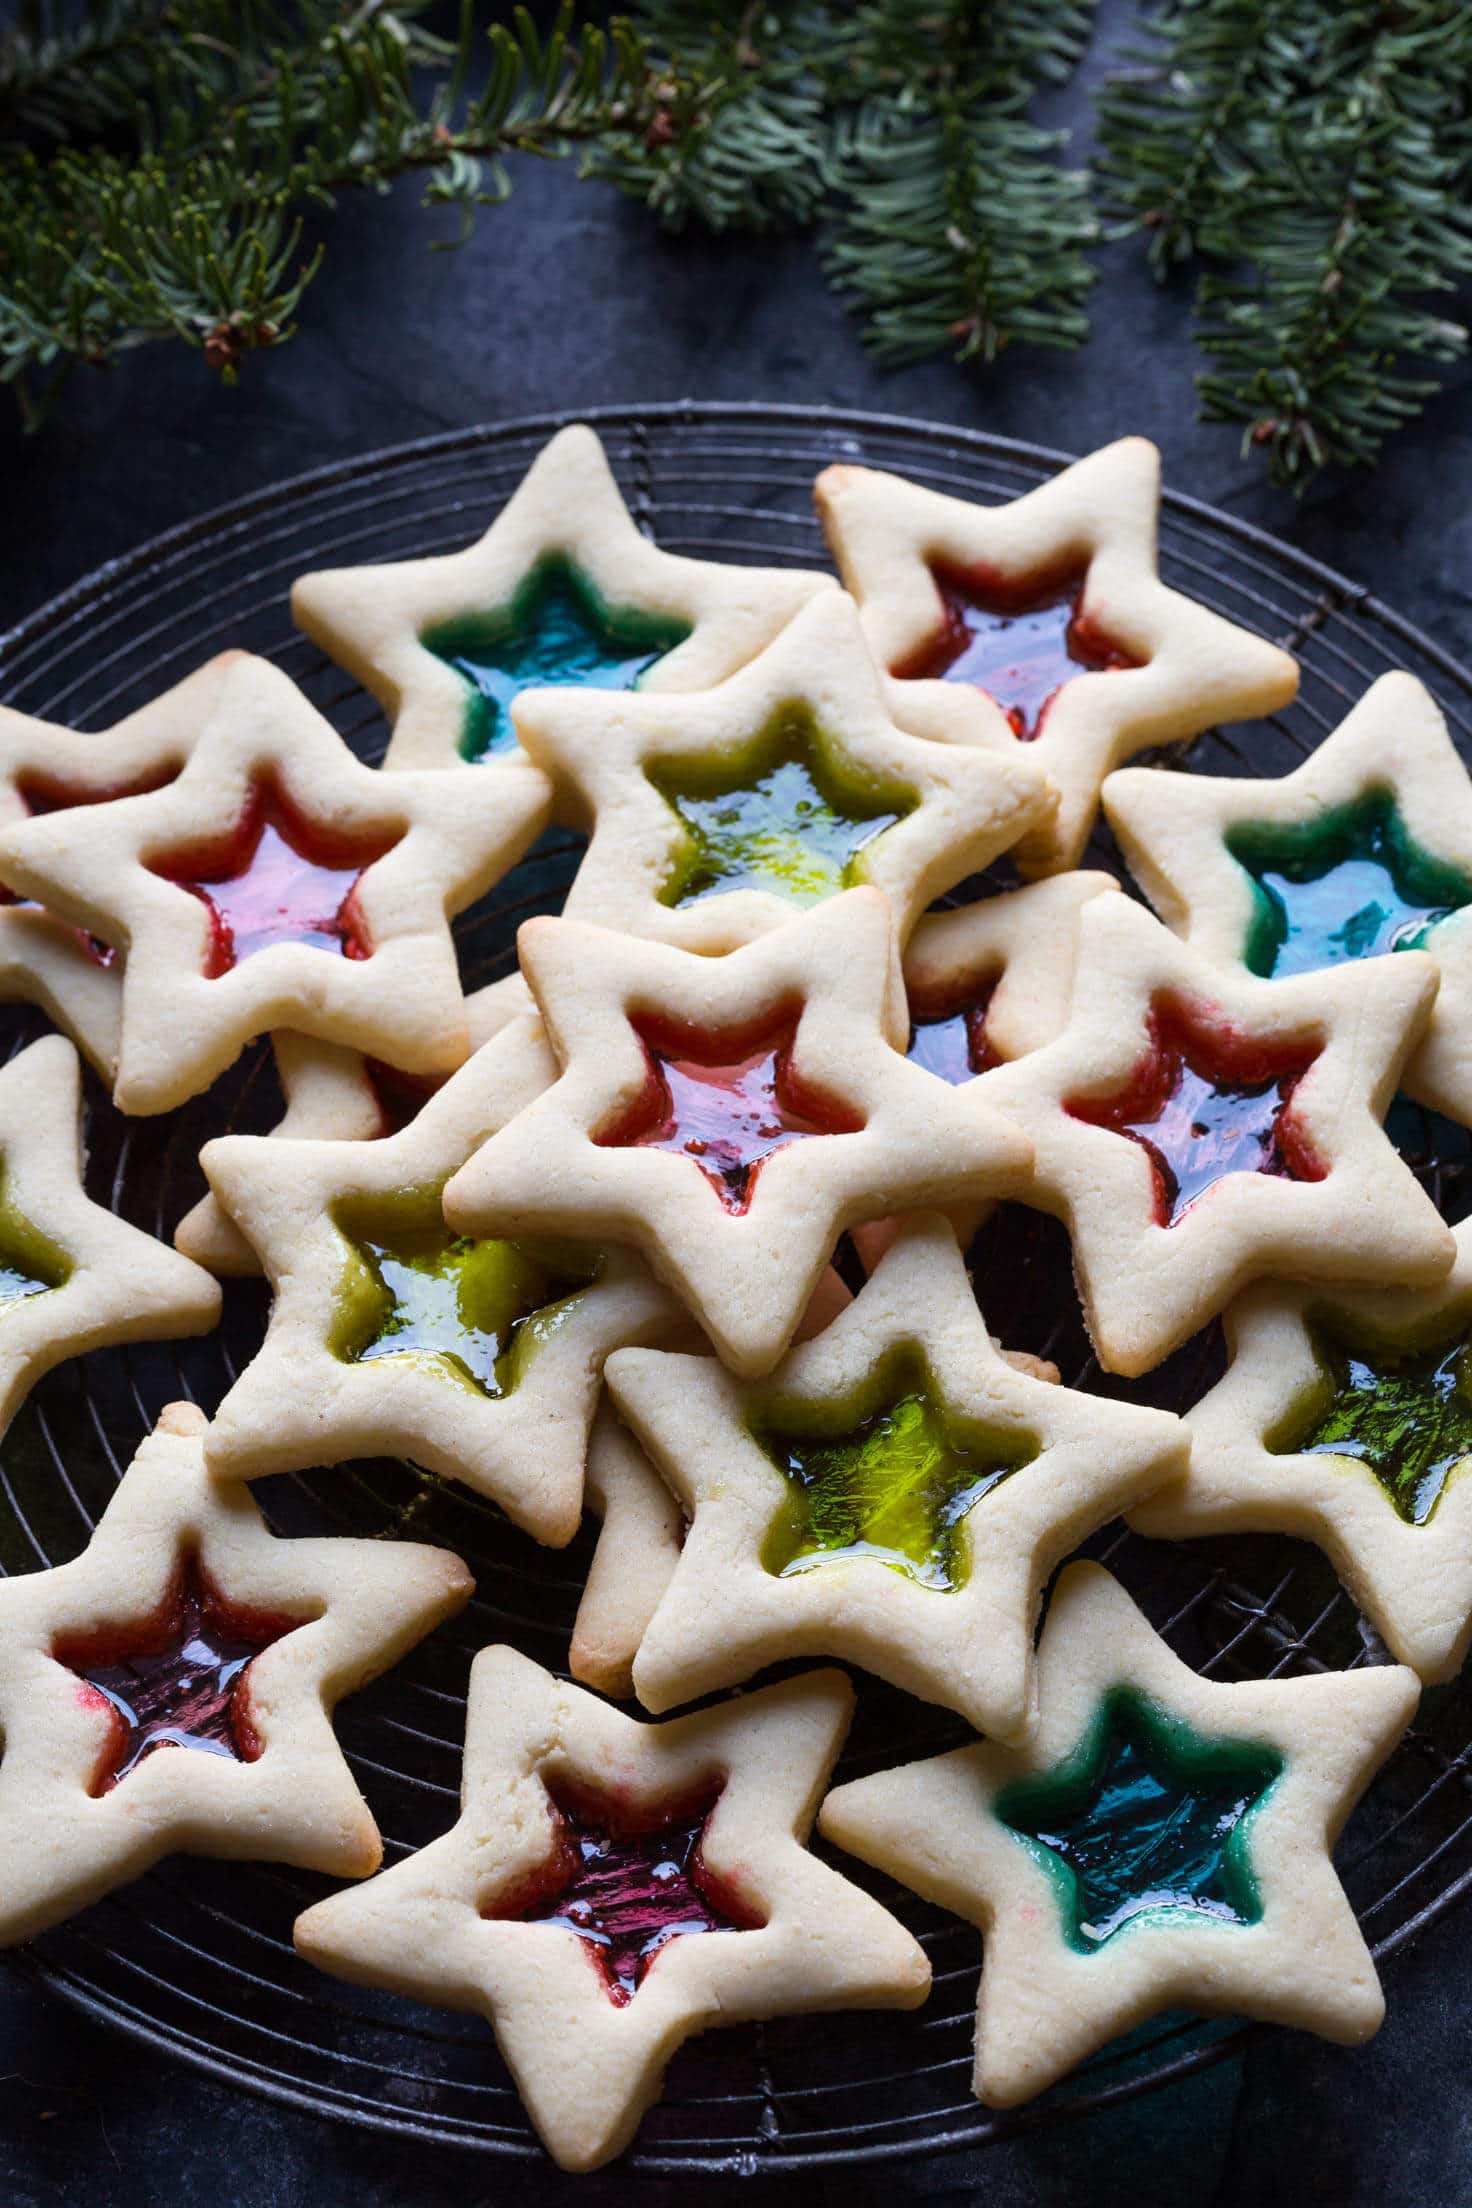
I used Jolly Ranchers for the stained glass part, for the first batch I used probably about half a crushed candy piece.
When they came out of the oven I thought that it would not be nearly enough as the glass part looked really thin, but when it hardened up they were just fine and far less fragile than I thought they would be.
For the second batch I used more hard candy but then it tended to bubble up over the top of the cookie so those cookies didn’t look quite so impressive.
As you can see I used two ‘star’ cookie cutters to cut the shapes, but really you can use any shape cutters you like.
At this time of year, I’m sure you can easily find star and snowflake shaped cutters that come in little boxes with four or five cutters of the same shape in varying sizes.
I’m a bit obsessed with cookie cutters and have box loads of them in all shapes and sizes. I got most of them from Amazon, if you don’t have any then start with one of their big boxes of Holiday Cookie Cutters, they’re great value!
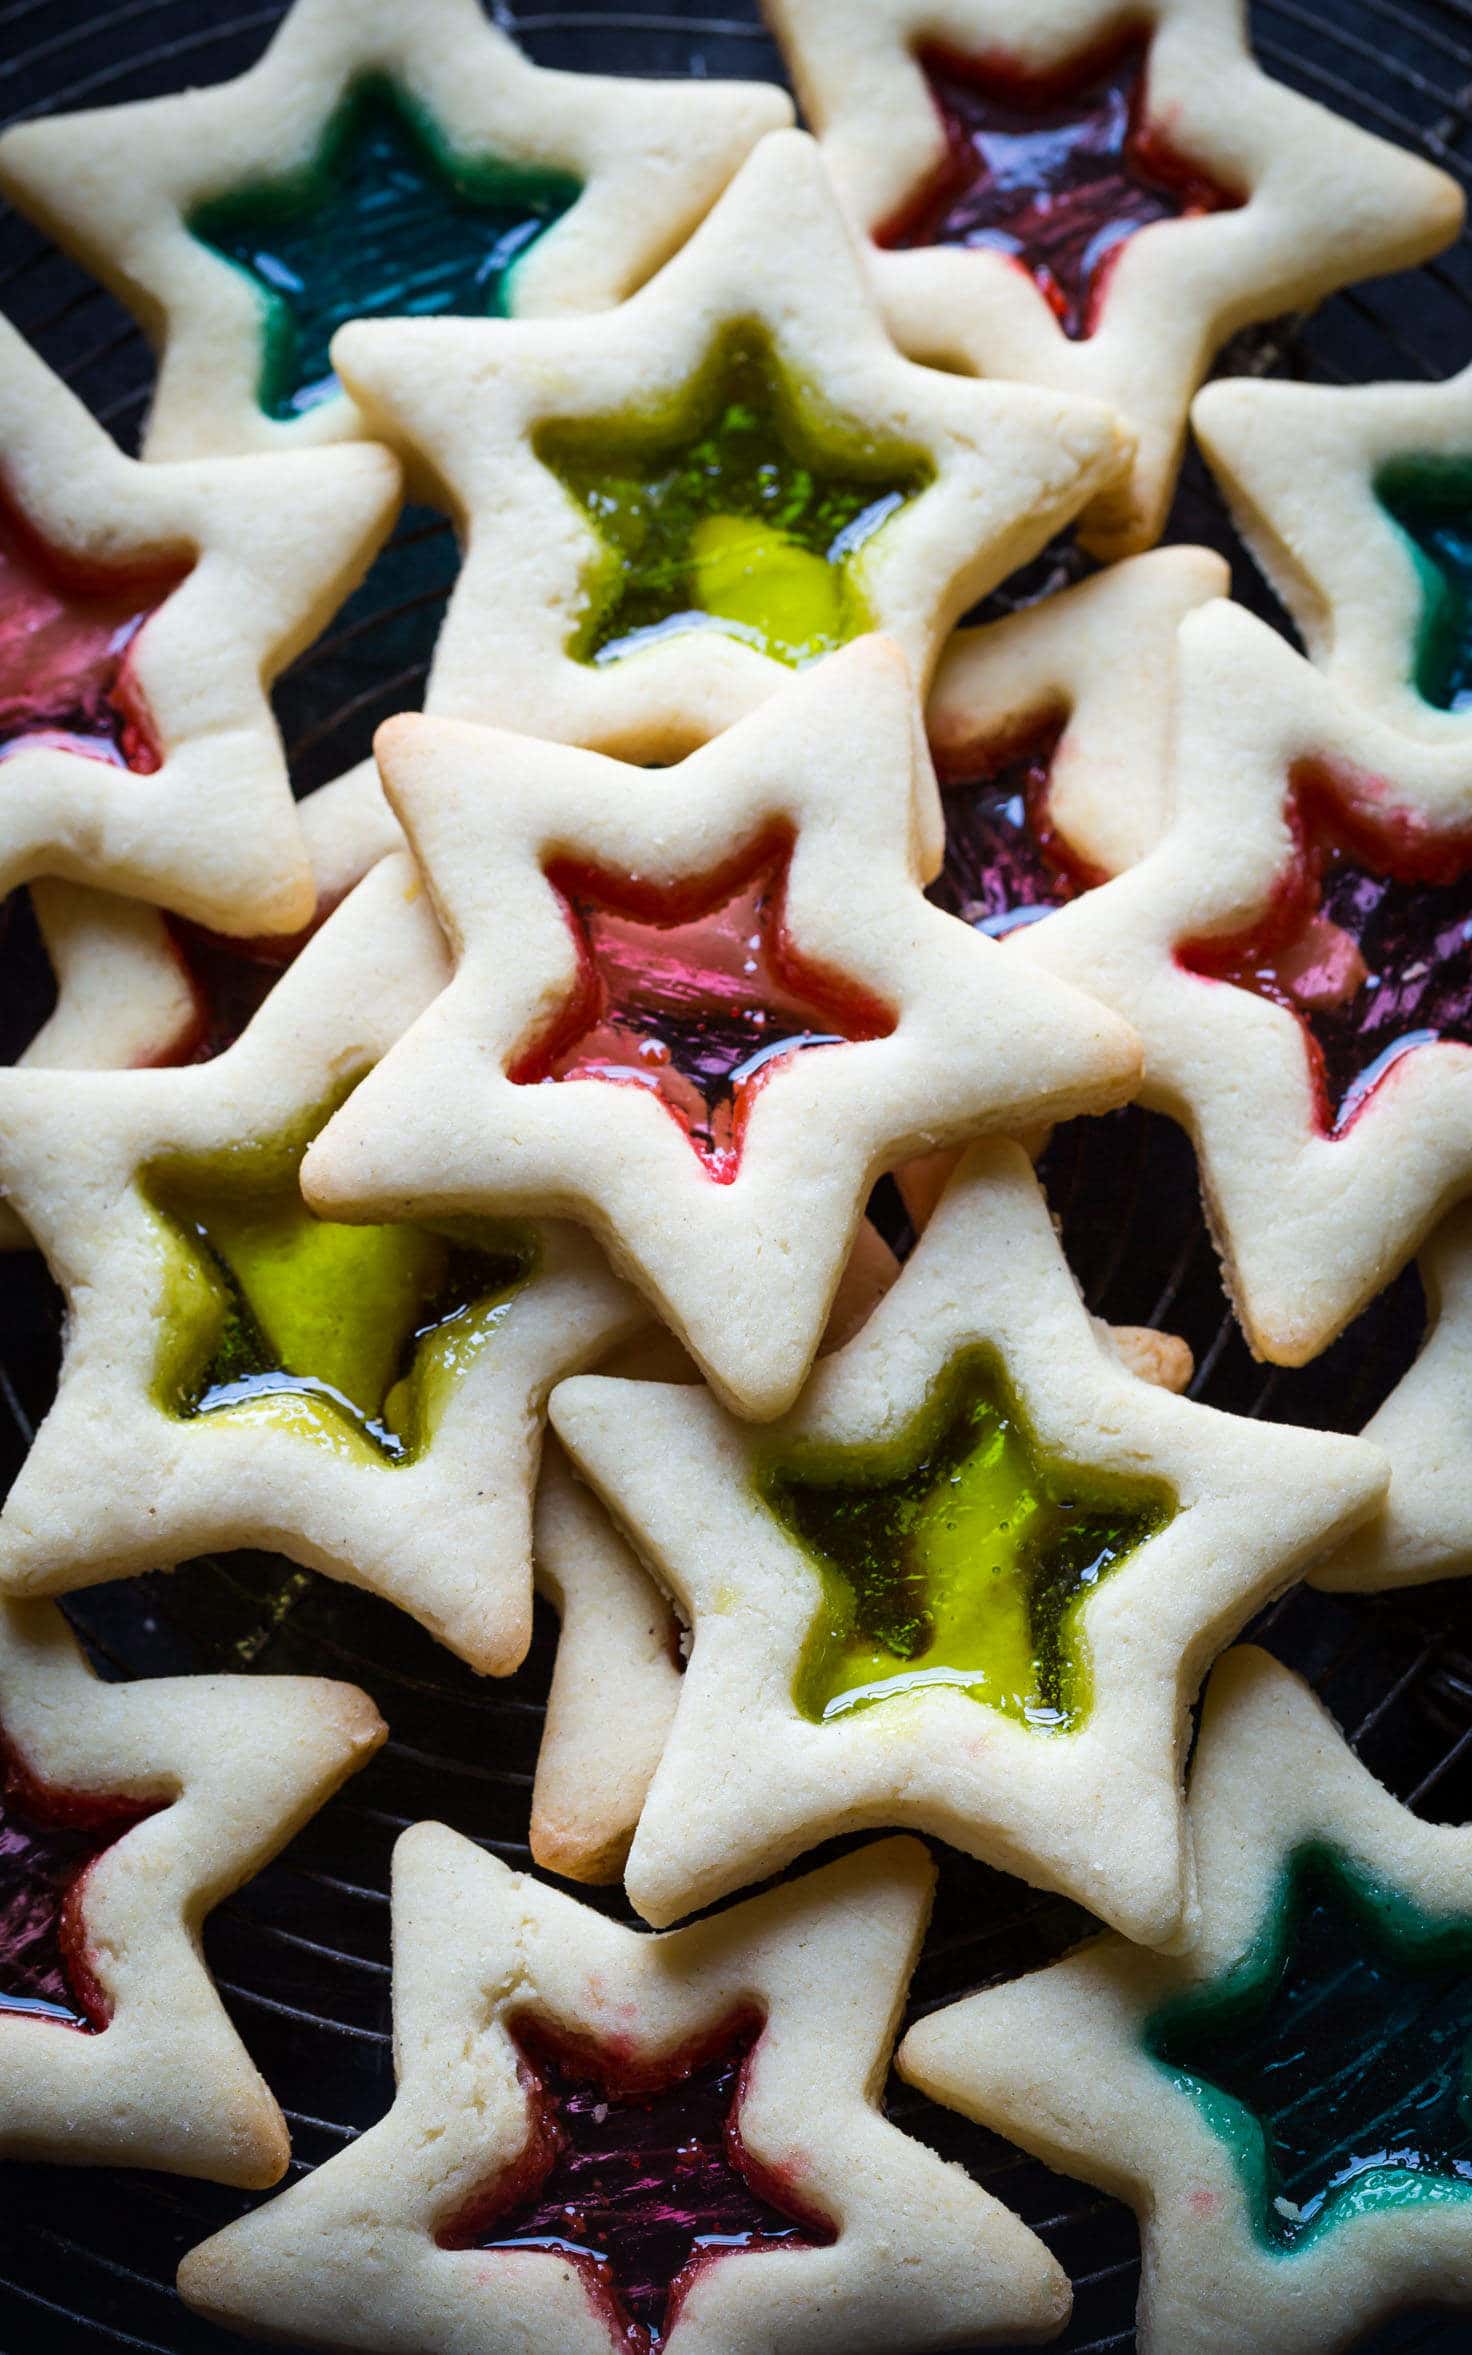
As always with gluten free cookies and other gluten free baked goods I find that they just don’t keep as long as regular baked goods and can tend to get soft or dry out more quickly.
My children are not remotely bothered by that and would eat these cookies all week long, but I prefer to freeze them if I think we won’t eat the whole batch within a couple of days.
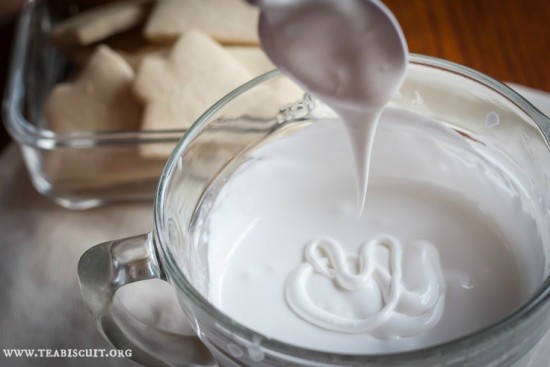
Royal Icing for Cookies
If you’re decorating cookies this Christmas then you need my Royal Icing recipe, it works perfectly, just be sure to read the tips in the post and use a timer!
I’ve been making it for years as I was a cookie decorator before I was a blogger.
This is my own recipe for gluten free cut out cookies, I wanted to create a recipe that not only tasted good but would hold it’s shape when baked in the oven.
This recipe works on both counts and has had rave reviews!

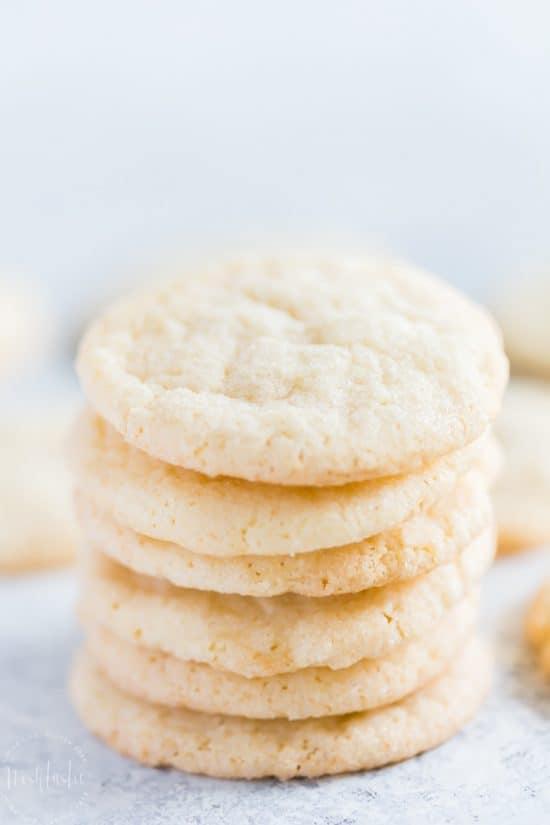
And lastly, not a Christmas Cookie as such, but you can’t go wrong with soft sugar cookies! This gluten free sugar cookie recipe makes a softer cookie and has a different dough recipe to the one above.
Gluten Free Stained Glass Cookies
Ingredients
- 1.5 sticks dairy free margarine, or butter , 175g
- 1 cup sugar , 200g
- 2 large eggs
- 3.5 cups all purpose gluten free flour blend , 450g
- 1 tsp xanthan gum , omit if included in your flour blend
- 1 tsp gluten free baking powder
- 1/2 tsp vanilla extract
- 1/2 tsp almond extract
- 1 lb bag of hard clear candies , like Jolly Ranchers
Instructions
-
READ NOTES FIRST
-
You will need two cookies cutters of the same shape, with one smaller than the other for the cut out centers.
-
Preheat your oven to 350F
-
Separate the hard candies into their various colors and put each color in a small ziplock bag.
-
Using a rolling pin or something similar carefully smash the candies into small pieces.
-
Cream together margarine and sugar.
-
Add in eggs and vanilla and almond extracts and mix until combined, remember to scrape down the sides of the bowl.
-
Measure out the dry ingredients into another bowl and mix by hand to combine the gum and baking powder.
-
Add the dry ingredients to the sugar and egg mixture and mix well to combine.
-
If the cookie dough is too soft to roll out at this point, place it in a bag or in a covered bowl in the fridge to allow the margarine to harden enough so that you can roll it out later.
-
When the dough has hardened roll it out on parchment paper, I use cling wrap to cover the top of the dough as I roll it out so that it does not stick to the rolling pin, I don't use extra flour.
-
Transfer the cut out cookies to the lined baking sheet and then use a smaller cutter with the same shape to cut out the centers.
-
Fill the center of the cookies with approx 1/2 to 1 tsp crushed candy.
-
Bake cookies for 12 - 14 minutes at 350F on a parchment lined baking sheet.
-
Allow to cool on baking sheet, the cookies will firm up once cooled and the 'glass' center will harden.
-
The candy will be bubbling when it comes out of the oven, this is normal and it will spread out when it cools down and the bubbles should disappear.
Recipe Notes
1. I bake by weight as I find that gives the most consistent results, especially when baking gluten free. One cup of your gluten free flour blend may not weigh the same as my blend, all the commercially available blends have different mixes and ratios of flour in them. I’ve weighed cups of different blends of flour and noted that a cup of gluten free flour can vary in weight from 125g up to as much as 170g depending on how you scoop it, and what type of mix you use. You can see how this could drastically alter the outcome of a recipe.
I recognise that most Americans are used to the cup method which is why I also include those measurements,but they may not give you accurate results. If you are a keen gluten free baker I would encourage you to invest in a scale, you can get one for only $10 - $15.
2.I prefer to use my own homemade gluten free flour blend as it's cheaper and I get really great results.
3. If you can, avoid buying flour with gums already added. The reason for this is that you have no way of knowing how much gum is in there and that can alter the outcome of the recipe. So for example, too much gum can give you a more sticky texture in a cupcake. And though the cupcake recipe will still work, it won’t be as nice as if you measured and added the gum yourself.


Leave a Comment