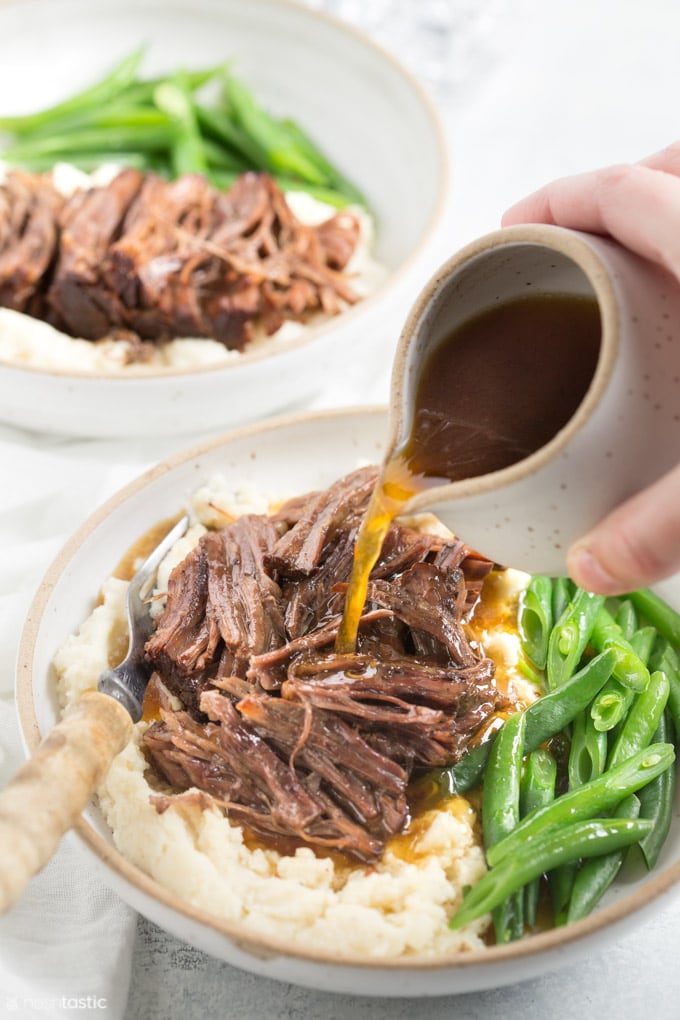
Instant Pot Balsamic Pot Roast provides a nice twist on my classic pot roast recipe.
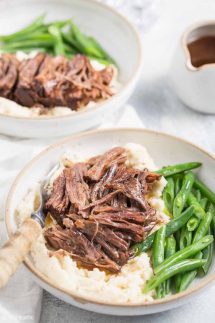
Balsamic vinegar has a rich, mild flavor and when cooked like this it creates a nice, tangy, warming gravy that tastes delicious poured over the beef and goes really well with a side of Cauliflower mashed potatoes and green beans.
This post contains affiliate links
How to make Instant Pot Balsamic Pot Roast
The most important part of making this pot roast recipe is to get it nice and brown before you add it to the pressure cooker, it adds so much flavor and its easy to do and won’t take long. Season it first with salt and pepper before you brown it.
You can either brown it in a cast iron skillet like I have here or you can use the ‘saute’ setting in your Instant Pot to brown it. I love the lovely brown crust I can get in the skillet so that was my preference this time, but you can absolutely use your instant pot to brown it, just make sure you use enough oil on the base of the pot.
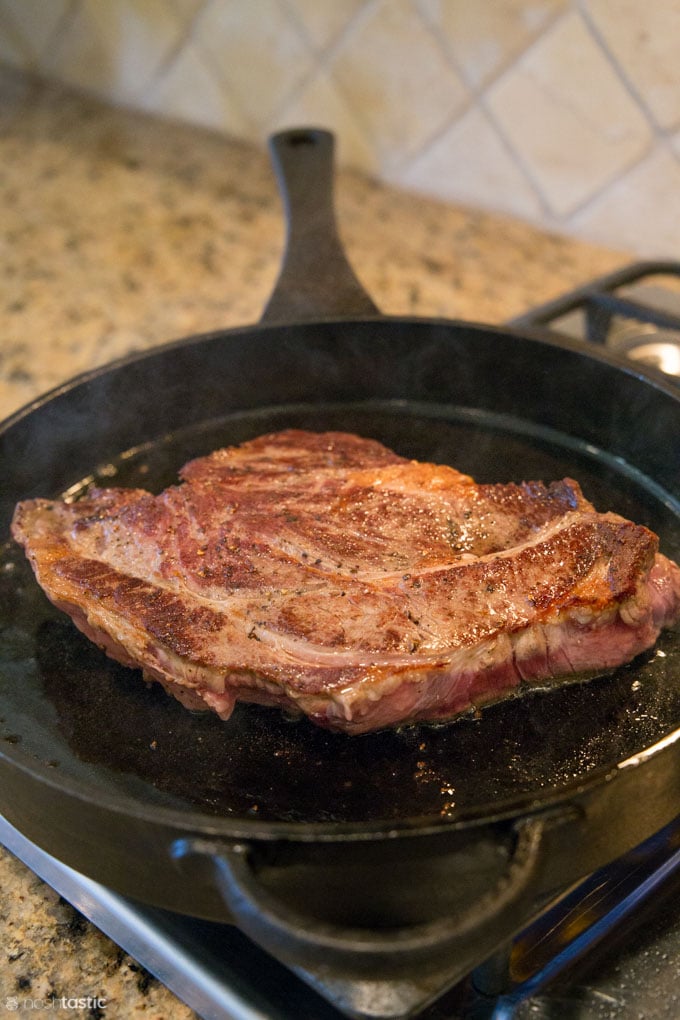
Then, you must deglaze the pot or skillet to get all those lovely brown bits up from the base of the pan, you can use the beef broth to do this.
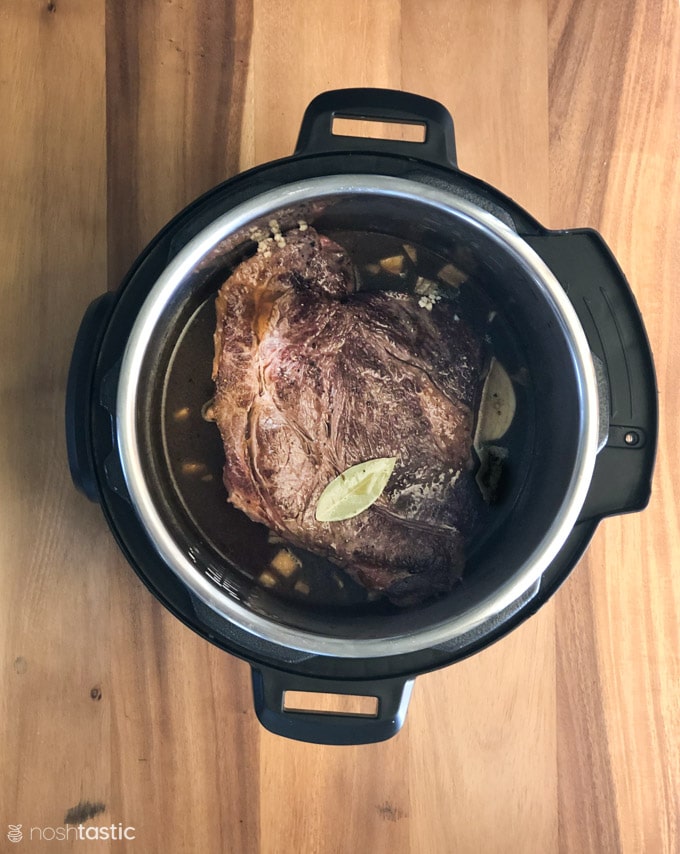
Add the onion chunks, crushed garlic cloves, bay leaf, into the Instant Pot, pour over the balsamic vinegar and add the deglazed beef broth if you were using a skillet to brown the beef. Now add the browned chuck roast on top of the liquid and add the lid, set it to ‘sealing’ and set the timer to cook for at least 47 minutes (see the recipe card at the end of the post for details on cooking time)
Once it’s cooked you can remove the meat and cover with foil and then simmer the pan juices to reduce them to make a richer sauce, or simply strain out the onion and other bits and serve it as is.
We did not add any starches to the gravy as I wanted to keep this a low carb recipe, but you certainly could do that if you are not counting carbs.
what is the best balsamic vinegar to use?
Traditional Balsamic Vinegar is a type of balsamic vinegar that is made only in the Emilia Romagna region of Italy.
Unlike Balsamic Vinegar of Modena, which is much cheaper to buy, Traditional Balsamic Vinegar is made differently, and must be aged for at least nine years resulting in a far superior product, with a superior price tag to match! [1]
So while I don’t often splash out on the more expensive vinegar, I also try to stay away from the cheapest Balsamic vinegars in the store, and I also avoid any that have added caramel color.
what are the best cuts of beef for Instant Pot pot roast?
Generally speaking the best cut of meat to use for a pressure cooker pot roast is a boneless chuck roast. It has plenty of fat and collagen and so it holds up well to pressure cooking and will produce a fork tender pot roast.
The chuck roast cut comes from the shoulder of the cow and is a fairly inexpensive cut compared to some others and it’s easy to find in the grocery store.
What you want to avoid are leaner cuts of beef roast as they will tend to dry out when pressure cooked.
More Pressure Cooker Beef Recipes
Instant Pot Balsamic Pot Roast
A fabulously easy pressure cooker pot roast with a rich delicious sauce.
Ingredients
- 4 lb boneless chuck roast
- salt
- pepper
- 1 cup gluten free beef broth , 240mls
- 1/4 cup Balsamic vinegar , 60mls
- 1 onion , cut into quarters
- 3 cloves garlic , crushed
- 1 bay leaf
- 2 tbsp chopped parsley (optional) , to garnish
Instructions
-
Season the chuck roast on both sides with salt and pepper.
-
Brown the beef with a little oil either in a cast iron skillet, or in the inner pot of your Instant Pot by turning on the saute function and adjusting it to the medium heat option. Don’t wait for the display to say ‘hot’, add oil right away and brown the meat on both sides then take it out.
-
Carefully deglaze the pot or skillet with the beef broth, then add the balsamic vinegar and place the onion pieces, crushed garlic cloves, bay leaf into the liquid inside the pressure cooker then place the browned pot roast on top.
-
Lock the pressure cooker lid, turn the steam release vent to ‘sealing’ and using the manual setting, adjust it to cook for 47 – 50 minutes at High Pressure.
-
My chuck roasts are usually about 1.5 – 2 inches thick and a 47 minute cook time works well for that thickness, if yours is thicker than that you may need to increase the cook time by up to ten minutes or more.
-
When the cook time time is up, allow the unit to reduce pressure on its own without opening the steam release vent (Natural Release) for at least 12 minutes.
-
After 12 minutes you can carefully and slowly release the rest of the pressure. Check if the meat is done to your liking, if not, put the lid back on and cook for 5-10 more minutes under pressure.
-
You can cover the meat in foil and reduce the gravy juices by half to get a richer sauce. (As we are cooking this to be a low carb meal I did not add any starches to thicken the gravy)
-
serve the meat hot with the pan juices and a little sprinkling of chopped fresh parsley.
Recipe Notes
Nutrition – the calculation includes the onion and the garlic cloves from the recipe which will increase the carb count a bit. However, I would suggest that the carb contribution from both of these is actually negligible as we are merely using them to flavor the sauce from the meat and they can be scooped out and not eaten after cooking, but there’s not an accurate way for me to guess or calculate what that would be, but it is likely to be less than is written in the label!
Gluten Free Bouillon – I like the Kitchen Accomplice broth concentrate, it’s gluten free, not too expensive, and relatively easy to find in grocery stores where I live.
Gravy – This recipe is made to be both gluten free and low carb and keto friendly, therefore I did not thicken the gravy with starches. However, if you are not counting carbs or if like me you want to thicken some of the gravy for other family members, simply use about 1tbsp of corn or potato starch mixed with a little cold water and thicken the pan juices after the meat has cooked.



Leave a Comment